Disclosure:
Affiliate links to Amazon
are included in this post.
States of Matter and Chemical Changes
When making jello with your students, do a quick review of the three basic
states of matter:
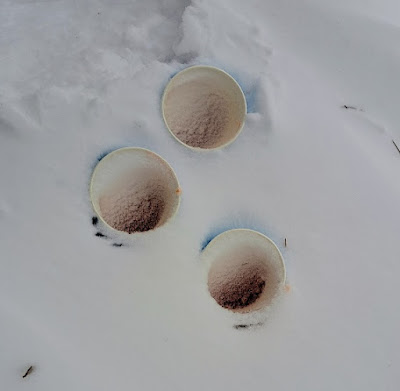
- solid = jello (gelatin) powder
- liquid = water
- gas = steam rising from the water
Next, review what happens to matter when these chemical changes happen:
- solid + heat = liquid
- liquid + heat = gas
- gas + cold (the removal of heat) = liquid
- liquid + cold (the removal of heat) = solid
How to Make Jello Outside in the Snow
Making jello in the snow is almost identical to making jello in the kitchen...
instead of putting the jello in the refrigerator to cool, however, you'll be
putting it into a pile of fresh snow. You will need a few items from your
kitchen at home or school and several boxes of powdered gelatin mix that can
be purchased at a dollar store.
Note: Adult supervision is required for this activity. Children
should never be left unattended near a hot stove.
You Will Need
- one or more boxes of jello mix of your favorite flavor (Generic brands of gelatin work just as well as the Royal and Jell-O brands.)
- one saucepan
- one measuring cup
- one wooden spoon
- one paper cup and spoon per child
Directions
- Gather all of the items you need and set the saucepan on the stove.
- Follow the directions on the back of the jello box.
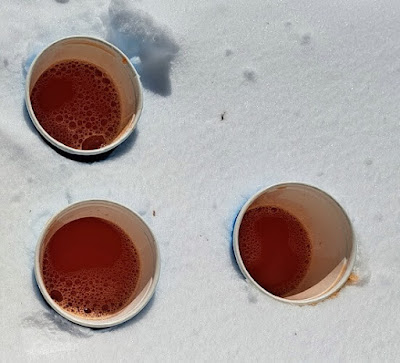
- Carefully pour the jello liquid into the paper cups.
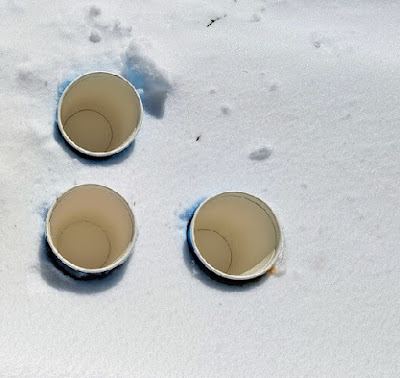
- Carefully set the paper cups outside in a pile of fresh, clean snow.
- Check the cups every hour or so to see when the jello is ready. The amount of time needed to chill the jello will vary depending on the size of the paper cups used. For example, if you use bathroom paper cups, your jello will be ready much faster than if you use kitchen-sized paper cups.
- Once the jello has set and looks ready to eat, go ahead and pull the cups out of the snow. Your students can eat the jello right from their cups... even if there is fresh snow on top of it.
It was getting cloudy outside and it started to snow, so we brought
our cups inside. Luckily, the jello was outside long enough to set and was
ready to be eaten.
Instead of eating my jello directly from the paper cup, I decided to
get fancy. I scooped up some fresh snow and put it in the bottom of a
glass bowl and dumped my jello onto it. Doesn't it look delicious?
Did you enjoy this blog post about making jello in the snow? If so, check
these blog posts for more recipe ideas:
- Snack Recipes: 13 Halloween Treats for Your Class Party
- Snack Recipes: Rosh Hashanah Recipes
- Recipe + Craft: How to Make Cinnamon-Scented Christmas Ornaments Christmas Craft
- Book + Cookie Recipe: A World of Cookies for Santa by M.E. Furman
- Book + Craft Recipe: Goo on My Shoe by Jacqui Shepherd
- Tea Recipe: Native American - Indigenous Immune Boosting Pine and Cedar Tea
- Craft + Recipe: How to Make Your Own Playdough


