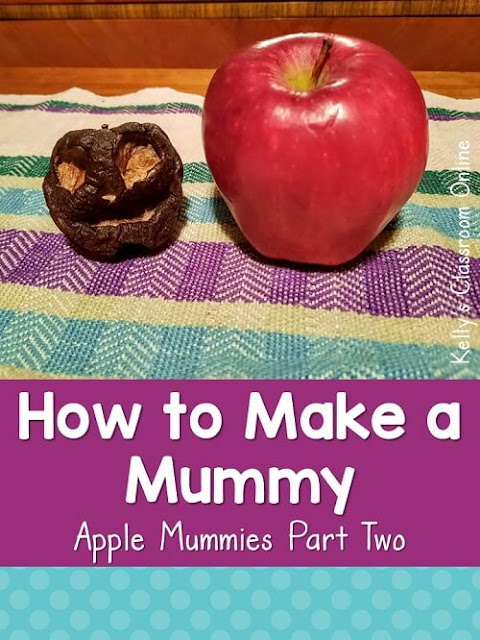
Several months ago, I wrote a blog post about a
STEM activity that uses apples to make mummies. It was a popular post with more than 5,000 views and 700+ shares. Since
then, I received numerous requests for part two of the experiment... the part
in which we take the apple mummies out of the salt mixture and complete the
hydration process in an oven. Keep reading to find out how it's done!
Disclosure:
Affiliate links
to Amazon are included in this post.
Social Studies Integration
Making a dehydrated apple mummy is a terrific addition to any social studies unit about Ancient Egypt. This activity mimics the process used by the Ancient Egyptians used when preparing a pharaoh's body for burial. Part one of this activity mimicked how special salts called natron were used to absorb bodily fluids and start the dehydration process. The next part mimics how the hot dry air of Egypt's climate may have impacted how long it took for the bodies to completely dehydrate.
.

This photo shows the changes that happened to the apple during the first
21 days of this activity. Day 1 shows a freshly carved apple. Day 21 shows
what the apple looked like after soaking in salt and baking soda for 21
days.
Materials Needed
- Your dehydrated apple from part one of How to Make a Mummy
- a toaster oven or food dehydrator
- oven mitts or gloves
- cookie sheet
- tin foil
- timer
Directions to Make an Apple Mummy
1. Preheat your oven to 200°F or 93°C.
2. Line your cookie sheet with tin foil.
3. Place your apple onto the cookie sheet and put it in the oven.
4. Set a timer for one hour.
5. After one hour, check on your apple. If there is still moisture in the
apple, put the apple back into the oven for another hour.

This is how my apple looked after two hours in the oven.
6. Repeat this process every hour until the apple is completely dehydrated
and there is no more moisture inside. It can take as long as 12+
hours to complete this step.
Stay patient and don't leave the oven unattended for any length of
time!
7. Once the apple is completely dehydrated, place it on a cooling rack or
oven mitt to cool.

This is how my apple looked after five hours in the oven.

It took six hours for my apple to completely dry out. You can see the
major changes that happened during that time. The apple shrunk to less
than half its original size because all of the moisture inside of it
is gone. Also, the lack of moisture in the apple has turned it as hard
as a rock!
Mummies Made in Egypt by Aliki
Now that you have a mummified apple, your apple is ready to be decorated
and prepared for burial. Stay tuned for part three of this series in
which we recreate that process! In the meantime, you can learn more
about mummies and how they are made by reading
Mummies Made in Egypt
by Aliki.
🍎 Author's Summary: Aliki describes and illustrates the
techniques and the reasons for the use of mummification in ancient
Egypt.
🍎 Title:
Mummies Made in Egypt
🍎 Author: Aliki
🍎 Illustrator: Aliki
🍎 Publisher: HarperCollins
🍎 Year: 1985
🍎 Pages: 32

Did you enjoy this blog post about making an apple mummy? If so check out
these blog posts for more books and activities:
- STEM: How to Make a Mummy STEM Activity (Part One)
- Book List: Six Children's Books About Egyptian Mummies
- Fun Facts: Fun Facts About Camels
- STEM + Book: Pumpkin Life Cycles + Pumpkin Jack
- STEM: Pepper and Soap Experiment


